The store will not work correctly in the case when cookies are disabled.
We use our own and 3rd party cookies on this site for analytics and advertising. Carry on browsing if you are happy with this, or find out how to manage your cookies.
Value Lights (we, our, us) is committed to protecting the privacy and security of your personal information. This policy (together with our terms of use and any other documents referred to in it) explains how we will collect, store and use any personal information about you so please read the following carefully.
DATA PROTECTION PRINCIPLES
For the purposes of this policy data protection law means: (i) until 25 May 2018 the Data Protection Act 1998 and then (ii) from 25 May 2018 and unless and until it is is no longer directly applicable in the UK, the General Data Protection Regulation ((EU) 2016/679) (GDPR) and any national implementing laws, regulations and secondary legislation, as amended or updated from time to time, in the UK and then (iii) any successor legislation to the GDPR or the Data Protection Act 1998.
We will comply with data protection law. Personal information we hold about you will be:
Used lawfully, fairly and in a transparent way.
Collected only for valid purposes that we have clearly explained to you and not used in any way that is incompatible with those purposes.
Relevant to the purposes we have told you about and limited only to those purposes.
Accurate and kept up to date.
Kept only as long as necessary for the purposes we have told you about.
Kept securely.
THE KIND OF INFORMATION WE HOLD ABOUT YOU
Personal data, or personal information, means any information about an individual from which that person can be identified. It does not include data where the identity has been removed (anonymous data). There are "special categories" of more sensitive personal data which require a higher level of protection.
We may collect, store and use the following information about you:
Information you give us. You may give us information when you contact us, register to use our site at www.valuelights.co.uk or any other site operated by us (our site), place an order, provide feedback participate in social media, enter a competition, promotion or survey, and when you report a problem. This may include your name, address, e-mail address and phone number, financial and credit card information, personal description and photographs.
Information we collect about you. When you visit our site we may automatically collect the following information:
technical information, including the Internet protocol (IP) address used to connect your computer to the Internet, and browser information;
information about your visit to the site including traffic data, location data, web logs and other communication data.
Information we receive from other sources. We may receive information about you from third parties (including business partners providing technical, payment and delivery services, advertising networks and analytics).
HOW WILL WE USE YOUR PERSONAL INFORMATION?
We use your information:
to process your orders and manage your account
to communicate with you about our products and promotions;
to monitor purchase history, site use and traffic patterns to improve our site design and products.
to allow you to participate in interactive features of our site.
to personalise your repeat visits to our site
to contact you about leaving a review once your order has been completed
to verify your identity;
to enable third parties to carry out technical, logistical or other functions on our behalf.
to prevent and detect fraud or abuses of our site.
where we have a legal right or duty to use or disclose your information (for example in relation to an investigation by a public authority or in a legal dispute).
SHARING DATA WITH THIRD PARTIES
We do not transfer your information to anyone for marketing purposes without your consent. However, it may be necessary for us to share your personal information with third parties in the following circumstances:
OUR SERVICE PROVIDERS AND SUPPLIERS
In order to make certain services available to you, we may need to share your personal information with some of our service partners. These include IT, delivery and marketing service providers.
We only allow our service providers to handle your personal data when we have confirmed that they apply appropriate data protection and security controls. We also impose contractual obligations on service providers relating to data protection and security, which mean they can only use your data to provide services to us and to you, and for no other purposes.
OTHER THIRD PARTIES
in processing your order we may send your details to and use information from credit reference and fraud prevention agencies;
if we or our business are acquired by a third party when our customers’ personal data will be transferred to the buyer;
If we have to disclose in order to comply with a legal obligation;
in order to enforce or apply the terms of our contract with you; or
to protect the rights, property, or safety of Value Lights, our customers, or others.
HOW LONG WILL WE KEEP YOUR INFORMATION?
We will retain your personal information no longer than is necessary for the purpose we obtained it for thereby reducing the risk that it will become inaccurate, out of date or irrelevant. Information that is no longer needed will be securely deleted. Different retention periods apply for different types of data, however the longest we will normally hold any personal data is 7 years.
WHAT ARE THE CONSEQUENCES OF FAILING TO PROVIDE PERSONAL INFORMATION OR WITHDRAWING CONSENT?
If you fail to provide certain information when requested:
We may not be able to fulfil your orders or perform other aspects of any contract we have entered into with you
We may be prevented from complying with our legal obligations
You may not be able to participate in the interactive aspects of our site.
INFORMING US OF CHANGES
It is important that the personal information we hold about you is accurate and current. Please keep us informed if your personal information changes during your relationship with us.
CHANGE OF PURPOSE
We will only use your personal information for the purposes for which we collected it, unless we reasonably consider that we need to use it for another reason and that reason is compatible with the original purpose. If we need to use your personal information for an unrelated purpose, we will notify you and we will explain the legal basis which allows us to do so. Please note that we may process your personal information without your knowledge or consent where this is required or permitted by law.
MARKETING
We would like to send you information about our products and services which may be of interest to you. If you have signed up for an account with us whilst making an online purchase or consented to receive marketing in any other way, you may opt out at a later date. You have a right at any time to stop us from contacting you for marketing purposes. If you no longer wish to be contacted for marketing purposes, you can unsubscribe at the foot of every email or contact us at [email protected].
Web Banner Advertising - If you visit our site, you may receive personalised banner advertisements whilst browsing other websites. These will relate to products you have viewed whilst browsing our site on your computer or other devices. These advertisements are provided by us via specialist providers using ‘cookies’ placed on your computer or other devices. You can remove or disable cookies at any time - see our Cookie Policy for further information.
INTERNATIONAL TRANSFERS
To deliver products and services to you, it is sometimes necessary for us to share your personal information outside of the European Economic Area, usually when service providers are located outside the EEA or if you are based outside the EEA. These transfers are subject to special rules under data protection laws. If this happens, we will ensure that the transfer will be compliant with data protection law and your personal information will be kept secure.
WHAT ARE YOUR RIGHTS?
Right of access - You have the right to obtain confirmation that your data is being processed and access to your personal data. You can make a request by email to: [email protected], or in writing to: Business Support Manager, LSE Retail Group. Lyntown Trading Estate, Eccles, Manchester M30 9QG
In most cases we will provide a copy of the information free of charge. However, we may charge a reasonable administration fee when a request is manifestly unfounded or excessive or to comply with requests for further copies of the same information although this does not mean that we will charge for all subsequent access requests.
We must without delay and in any event within 1 month of your request (subject to extensions in some cases):
confirm what personal data we hold about you;
provide a copy of the data in commonly used electronic form; and
provide any supporting explanatory materials.
We can extend the time to respond by a further two months where requests are complex or numerous. If this is the case, we will inform you of this within one month of the receipt of the request and explain why the extension is necessary.
Where requests are obviously unfounded or excessive we can refuse to respond. In such cases, we will, within one month, explain why and will inform you of your right to complain to our Supervisory Authority and to pursue a legal remedy.
Data portability – in addition to your access right you can require us to provide a copy of your information that we hold in a commonly used machine readable format
Rights of Correction and Erasure (“right to be forgotten”) You may ask us to correct or remove information you think is inaccurate.
RIGHT TO WITHDRAW CONSENT OR RESTRICT PROCESSING
Processing for marketing purposes - You may object, at any time, to the processing of your personal data for direct marketing purposes. When you register and every time we get in touch with you, we will offer you the opportunity to opt-out of any service to which you have subscribed. Any e-mail we send you will contain an easy automated opt-out.
Processing for our legitimate interest - You can object to any processing which is for our legitimate interests or those of a third party in which case, the processing must stop, unless there are compelling legitimate grounds for the processing which override your rights, or where the processing is necessary in relation to legal action.
You can raise an objection, withdraw consent or restrict processing by email to [email protected], or in writing to Business Support Manager, LSE Retail Group. Lyntown Trading Estate, Eccles, Manchester M30 9QG.
Right to Complain - If you have any concerns with how we keep and use your information please contact our Data Protection Officer by email at [email protected], or in writing to Business Support Manager, LSE Retail Group. Lyntown Trading Estate, Eccles, Manchester M30 9QG. You may also complain to our Supervisory Authority, the Information Commissioner’s Office by using their livechat service via their website at https://ico.org.uk/global/contact-us/live-chat or by phone on 0303 123 1113 or, where different, the Supervisory Authority where your data has been processed. We will advise you of this where appropriate.
AUTOMATED DECISION MAKING
You will not be subject to decisions that will have a significant impact on you based solely on automated decision-making, unless we have a lawful basis for doing so and we have notified you. We do not envisage that any decisions will be taken about you using automated means, however we will notify you in writing if this position changes.
HOW WE KEEP YOUR INFORMATION SECURE
We use Secure Server Software (SSL) to ensure that personal information, including credit card details, remains private and secure. Where we have given you (or where you have chosen) a password which enables you to access certain parts of our site, you are responsible for keeping this password confidential.
We will maintain appropriate safeguards to ensure the security, integrity and privacy of your information and will take reasonable steps to try to ensure that third parties to whom we transfer any of your information will provide sufficient protection of that information.
OTHER WEBSITES
Our site may, from time to time, contain links to and from the websites of partner networks, advertisers and affiliates. Please note that these websites have their own privacy policies and we do not accept any responsibility or liability for these. Please make sure you are happy with these policies before you submit personal data to these organisations via their websites.
KLARNA
In order to be able to offer you Klarna’s payment options, we will pass to Klarna certain aspects of your personal information, such as contact and order details, in order for Klarna to assess whether you qualify for their payment options and to tailor the payment options for you.
General information on Klarna can be found here. Your personal data is handled in accordance with applicable data protection law and in accordance with the information in Klarana's privacy policy.
CHANGES TO OUR PRIVACY POLICY
We will regularly review this Privacy Policy, taking account of any complaints about information handling and updating it as necessary to reflect any changes in our collection and use of personal data. Any changes we may make in the future will be posted on this page and, where appropriate, notified to you by e-mail. Please check back frequently to see any updates or changes. The Privacy Policy was last updated in May 2018.
HOW TO CONTACT US
Questions, comments and requests regarding this Privacy Policy should be addressed to:
Business Support Manager, LSE Retail Group. Lyntown Trading Estate, Eccles, Manchester M30 9QG
15% OFF EVERYTHING|
use code FLASH15
Make us an offer on 1,000+ lines | Negotiate and SAVE!
Unless you’re a qualified electrician or a bit of a handy man/woman, us average Joe’s don’t have a clue how to change a light bulb in the safest and easiest way possible. Here at Value Lights, we’re all about educating you and making sure you’ve got all the knowledge you need to look after and prolong the life of your bathroom lights, starting with how to bring back the light in your bathroom when you’ve been left in the dark!
There are a few safety points you need to remember when changing a light bulb in any room of the house:
What you must remember to do is turn off the power (this will turn the power off to the whole house/flat/apartment). Even if the light itself isn’t switched on, there is every chance that you can cause harm to yourself or people around you if you don’t do this.
Secondly, if you’re changing a bulb in a ceiling fixture, please ensure you are using a strong, sturdy ladder and that it’s sat on a solid and flat surface. Ideally, get someone to spot you as well!
Let the bulb cool down first before changing it. If it was turned on before it failed, it may be hot/warm to the touch.
Bathroom lights come in all different shapes and sizes with different bulb fittings.
Below shows the most common and how to remove bulbs from them:
Bayonet (BC/B22) - push it in slightly and twist out anti-clockwise
Large Screw (ES/E27) - unscrew anti-clockwise and remove
G9 - this requires you to pull it out gently but firmly
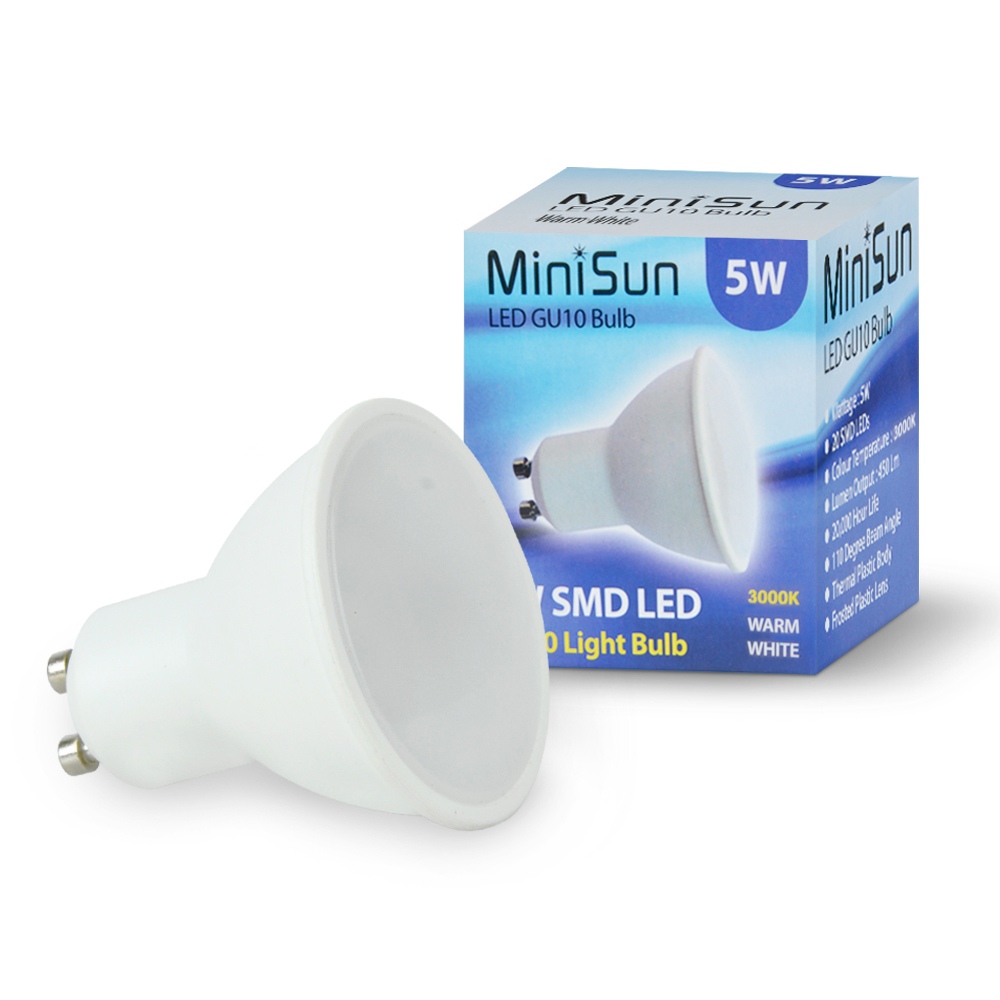
GU10 - push down the front face of the bulb and twist anti-clockwise
Wall Lights
Most bathroom wall lights will have a glass or plastic cover that shelters the bulb/s from moisture to ensure the fitting doesn’t short circuit.
As with our Diablo or Varuna wall light, this cover usually screws off. Once removed according to the bulb fitting, we recommend replacing the old bulb with an LED bulb (FYI - they use around 80% less energy than a standard halogen or incandescent bulb! Why wouldn’t you want to save money?!). Once the bulb has been replaced, reattach the cover and voila!
Bulb changed. Job done. Mic Drop.
Downlights & Spotlights
Bathroom rated ceiling spotlights and downlights cleverly provide you with the security that moisture won’t get into them and you can bask in their glory. Until one day, one of the bulbs decides it’s time to give up. Don’t despair. Value Lights is here.
Our spotlight and downlights take GU10 bulbs, which require a push and twist motion. And it’s the same logic when putting in the new bulb. There will be some notches in the holder where the bulb sits. Push it down into these notches and twist clockwise.
And you’ll be living in the spotlight once more.
Flush Ceiling Lights
Get prepared, set up your ladder and go and change that light bulb. Flush ceiling lights in the bathroom tend to have a glass or plastic cover on them, held in place by 2 or 3 nuts. Unscrew these nuts and keep them safe. Take off the cover carefully and put to one side. Remove the bulb according to the fitting and reattach the cover and nuts.